Riftspinner rigs: all thirteen bodies
The thirteen playable bodies, how to unlock them, and what each one is good at.
PLAY FREE IN YOUR BROWSERThirteen bodies, thirteen styles
A rig is the body your spider wears into the breach. Ten start with a different gun. Three, Bulwark, Harrow and Gyre, are melee rigs that fight with a slam maul, a scythe or orbiting blades. Every rig has built-in bonuses and penalties. Unlocks are permanent and are tracked in your browser, so you only have to earn each one once.
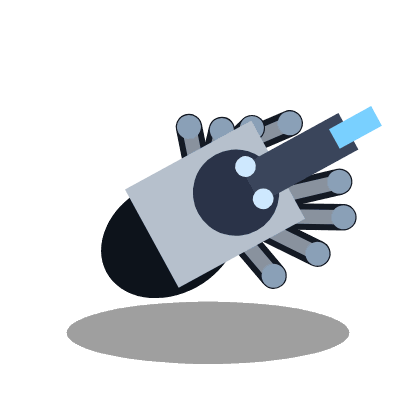
Issue Warden
Unlock: Always available.
Balanced issue carbine. No bonus, no penalty. The rig that learns any gun.
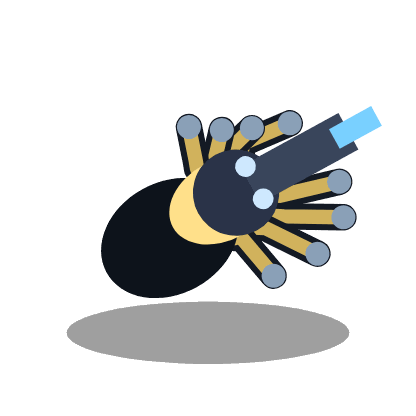
Needler
Unlock: Reach wave 4 or 40 kills.
+22% fire rate, -10% damage, +20 magnet. Many small shots.
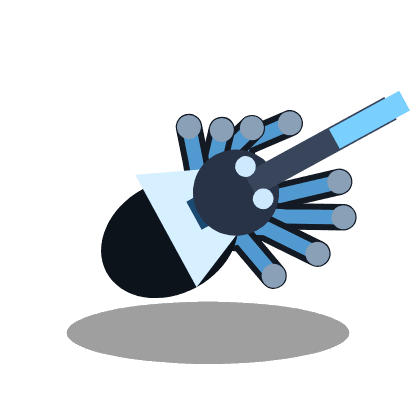
Lens
Unlock: Reach wave 6.
+18% damage, +1 pierce, faster dash recharge. Starts with a long stake of a gun.
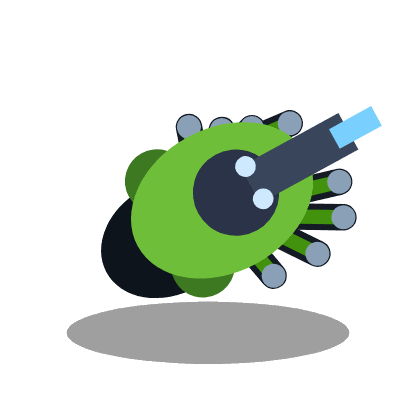
Gland
Unlock: Log a Spitter in the bestiary.
Every shot applies venom. -6% fire rate. Kills after you stop shooting.
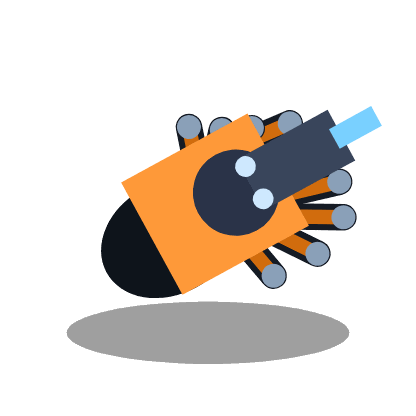
Jackal
Unlock: Reach wave 8 or 120 kills.
+12% splash, +12 HP. Built for pellets and crowded rooms.
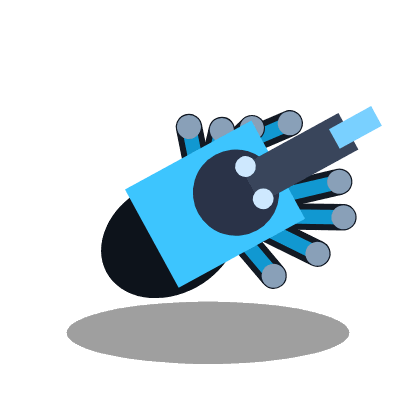
Afterimage
Unlock: Log a Flicker in the bestiary.
+35% dash, +8% speed, +1 pierce. Lives in the gaps between enemies.
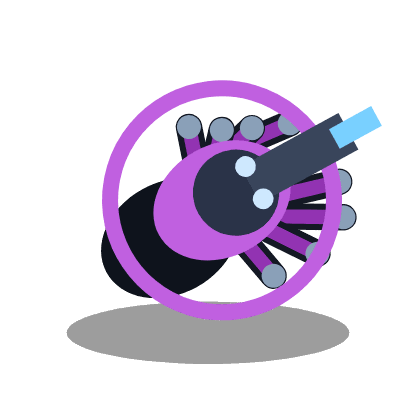
Cantor
Unlock: Reach wave 10.
+10% execute, +6 luck. Finishes wounded hosts.
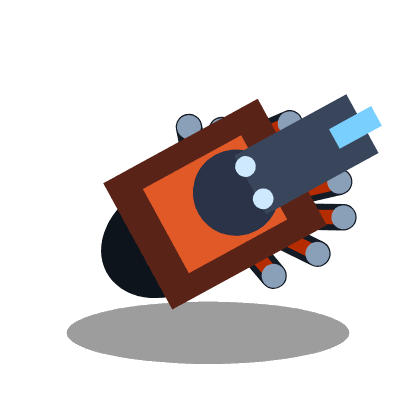
Hollow
Unlock: Bank 400 ash across runs, or reach wave 12.
+12% damage, +20% splash, -6% speed. Slow and loud.
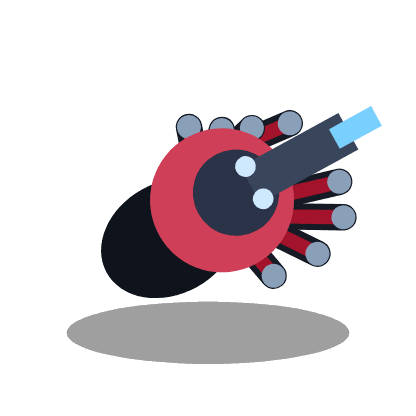
Seeker
Unlock: Bind one legendary.
+6% lifesteal, +4 luck. Shots home in and drink health.
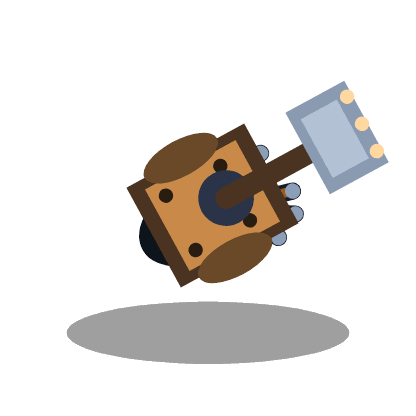
Bulwark
Unlock: Reach wave 18.
MELEE. A large armoured frame with a slam maul. +90 HP, 16% soak, -6% speed. Each slam hits a wide arc, knocks hosts back and stuns them, and AFTERSHOCK also hits everything around you in a full ring for 40% damage.
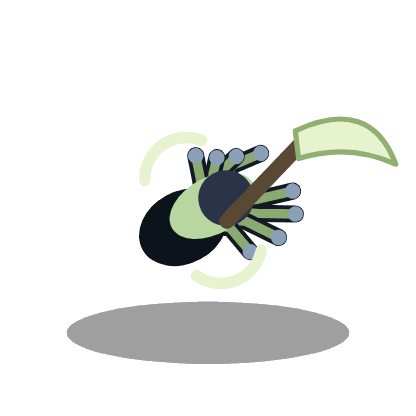
Harrow
Unlock: Defeat 800 hosts in total.
MELEE. Scythe arms that sweep a huge arc, fast. +8% lifesteal, +12% speed, +10% crit. Swings knock hostile shots out of the air, and FRENZY CUT: a sweep that hits 3 or more hosts refunds 35% of its recharge.

Gyre
Unlock: Complete 3 missions.
MELEE. Four blades orbit you and cut anything they touch, and shred hostile spit and bolts. Hold fire to spin them wider and hit 50% harder; you only slow by 10% while they spin. +30 magnet and 6% soak.
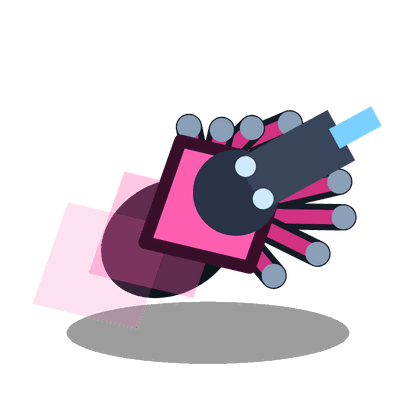
Jumper
Unlock: Reach wave 14.
Rift blinker. Your dash teleports you up to 230 px (it stops at walls). The blink cuts everything on its path and shocks and stuns hosts where you land, for 2.5x your damage and more for every extra pellet. You cannot be hurt for 0.5 seconds after every jump. +20% dash recharge, +4% speed, -6 HP. It starts with a short-range shotgun, and blink damage and range gear and level-up cards drop only for it.
Which rig should I play?
- Starting out: the Issue Warden is balanced and teaches you the loot system.
- Crowd control: Jackal and Hollow for splash, Needler for sheer volume of fire.
- Mobility: Afterimage rewards a dash-heavy, always-moving playstyle.
- Sustain: Seeker drinks health from every hit, and Gland melts tough targets with venom.
- Precision: Lens hits hard and pierces, ideal against lines of enemies and bosses.
- Up close: Bulwark is the tank, Harrow the fast lifesteal skirmisher and Gyre the crowd-shredder that also clears incoming shots.
Building around each rig
A rig is more than a stat line. Each one nudges you toward a way of playing, and the field mutations and loot you pick up should reinforce it.
Issue Warden
No bonuses and no penalties, which makes it the best rig for learning. Because it has no built-in direction, whatever the first few drops are decides your build. Pick up anything with lifesteal or crit early and lean into it.
Needler
The fastest fire rate in the game, paid for with lower damage per shot. It rewards fire-rate mutations such as Tempo Wire and anything that adds a per-hit effect, because every extra shot applies it again: venom, lifesteal and execute all benefit. Weak against Brutes and Aegis until you stack damage.
Lens
Extra damage and piercing shots with a faster dash recharge. It shines in corridors and against bosses, where lining shots up is easy. Pair it with Rift Awl pierce mutations so one shot can hit a whole line of hosts.
Gland
Every shot applies venom, at a small cost to fire rate. Venom keeps working while you retreat, so it suits a kiting style. The Venom Stack mutation is offered repeatedly for this rig and each stack adds venom damage and duration.
Jackal
More splash and more health. It is the easiest rig against swarms because blast tips clear Skitters and Motes in groups. Keep distance from Cinders: their explosions chain with your own splash.
Afterimage
A long, fast dash and a bonus to movement speed. It is the hardest rig to play well and the most rewarding: you can pass through gaps in a pack that other rigs cannot. Dash toward the edge of a group rather than away from it to flank.
Cantor
Execute and luck. Wounded hosts die quickly, which is excellent against Chanters and Howlers. The luck bonus also makes drops better, so Cantor tends to find stronger gear than other rigs at the same wave.
Hollow
A heavy, slow cannon rig with big splash and damage. Its slower movement means positioning matters more, so use walls and shrine fields as anchor points and let enemies come to you.
Seeker
Lifesteal and homing shots. It is the safest rig for new players who like to stay in the fight, but lifesteal is capped at 14% total and each hit heals that share of the enemy's maximum health, capped at 5% of your own maximum health per hit, so it will not carry you through a swarm on its own. Add damage and soak as well.
Bulwark
The large rig: a bigger body, 60 extra health and 12% soak, paid for with 10% less speed. Its maul slams a wide arc in front of it, knocking hosts back and stunning them for a moment, so use each slam to buy space as much as to deal damage. It cannot use guns, so weapon drops are mauls. Stay near walls so packs have to come at you from one side.
Harrow
A fast, fragile rig with the widest swing in the game and built-in lifesteal. Keep moving, cut through the edge of a pack, and let each swing heal you. Its sweeps also knock Spitter globs and Marksman bolts out of the air, which makes ranged hosts far less scary.
Gyre
Four blades orbit you all the time, so it kills things just by being near them, and it shreds hostile shots that touch the ring. Hold fire to spin the blades wider and faster for more damage and reach, at the cost of a tenth of your speed. Use the wide spin when a pack closes in, then release and move.
New to the game? Start with the how to play guide, then read the strategy guide.
Abilities and perks for every rig
Each rig has an active ability and two perk cards only it can be offered. The full list with cooldowns is in the expanded systems guide.
| Rig | Ability | Cooldown |
|---|---|---|
| Issue Warden | OVERDRIVE | 28 s |
| Needler | NEEDLE STORM | 22 s |
| Lens | LANCE BEAM | 24 s |
| Gland | PLAGUE BLOOM | 26 s |
| Jackal | BREACH CHARGE | 28 s |
| Afterimage | PHASE SHIFT | 22 s |
| Cantor | HYMN OF ENDS | 30 s |
| Hollow | SHELLFALL | 30 s |
| Seeker | BLOOD TITHE | 26 s |
| Bulwark | QUAKE | 24 s |
| Harrow | CYCLONE | 22 s |
| Gyre | BLADE STORM | 24 s |
| Jumper | RIFT PULSE | 22 s |